Don’t laugh. Please!
I haven’t made a Dotee doll before and I thought that while I’m learning I’ll create a tutorial too. So no laughing at the finished product. It was my first ever Dotee!
Dotees are altered art dolls that are typically between 3 and 7 inches in length. They are simple enough for most beginners to get a hang of with basic sewing techniques. They consist of a body, a felt face, a hanging loop and a tail of fibres.
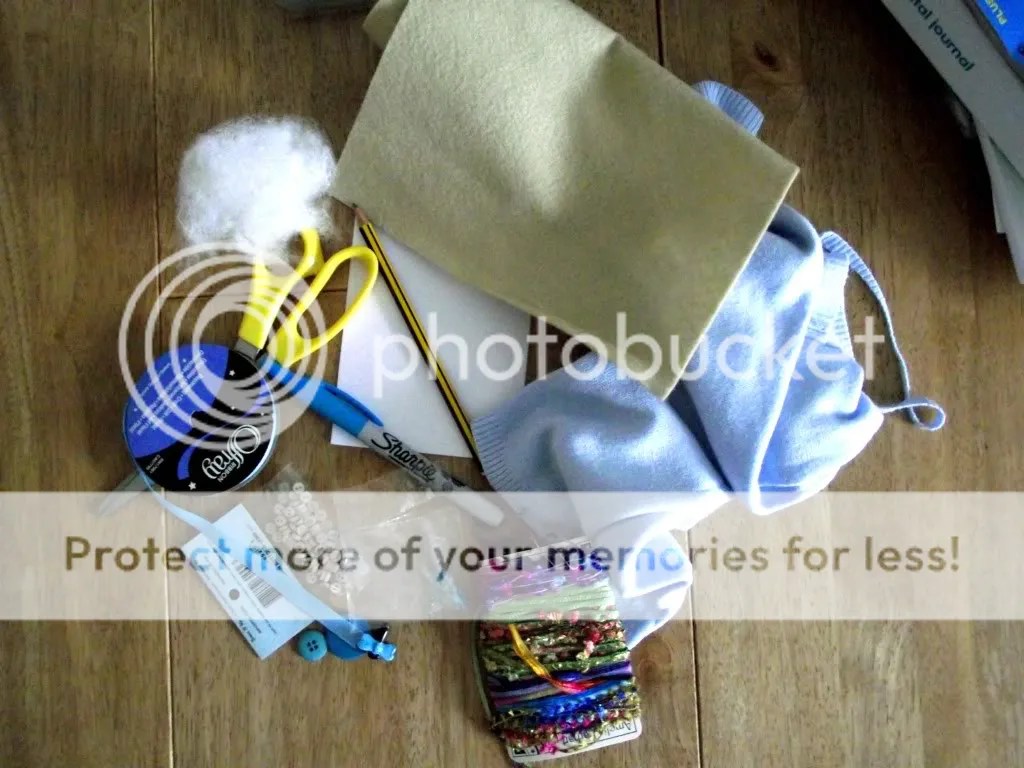
To make a Dotee you will need:

- Material scraps
- Card for a template
- Skin coloured felt
- Permanent ink fine line marker
- Pencil
- Scissors
- Needle and thread
- Co-ordinating ribbon, fibres and embellishments
- Stuffing material
To start off draw and cut out your template from the card. You may find it easier to make your dotees as simple rectangles.

Attach the template to the materials with pins or draw around the template and cut out your material. Pin the two pieces of material together wrong side out to ensure they don’t slip while sewing.

Take a piece of ribbon about 3 inches long and fold in half. Tuck this in between the two halves with the loop inside and the tails sticking out. This will be useful when you come to flip the doll inside out.

Now starting at the bottom sew around the doll leaving a gap at the bottom for turning inside out and stuffing. You can do this by hand but I used a sewing machine.

Now unpin the material and turn inside out through the hole you left.

You promised not to laugh! 🙂
Next up we are going to stuff the Dotee firmly. You may find it easier to use a pencil to help get your stuffing right down inside. You’ll be surprised just how much stuffing you’ll need but make sure you put plenty in or your doll will have a lumpy feel to it.

Now take some lengths of fibre and sew the bottom of the doll using ladder stitch and incorporating the fibres.

Take a small piece of the skin coloured felt and cut out a circle. Attach the circle to the doll. Here I used blanket stitch but you can use whatever you’re familiar with.

Take your fine pinot marker and draw a little design on the face.

You’re laughing aren’t you 😛
Finally stitch on some fibres for hair and embellish using whatever co-ordinating buttons, beads etc you have!

I think next time I’ll try a rectangular doll as the shape should be better.

Mulle86 over on Swapbot gave me a few more Dotee tips:
- It is easier to attach the face, embellishments and trailing fibres before you sew together the two halves.
- To prevent your pen from running, embroider your dolls face on.
- Create the face before you attach it to the doll. It is easier to get a nice image this way.
Here are some Dotee links to spark your inspiration!
The original Dotee artist!
Dotee Dolls on flickr


Leave a comment